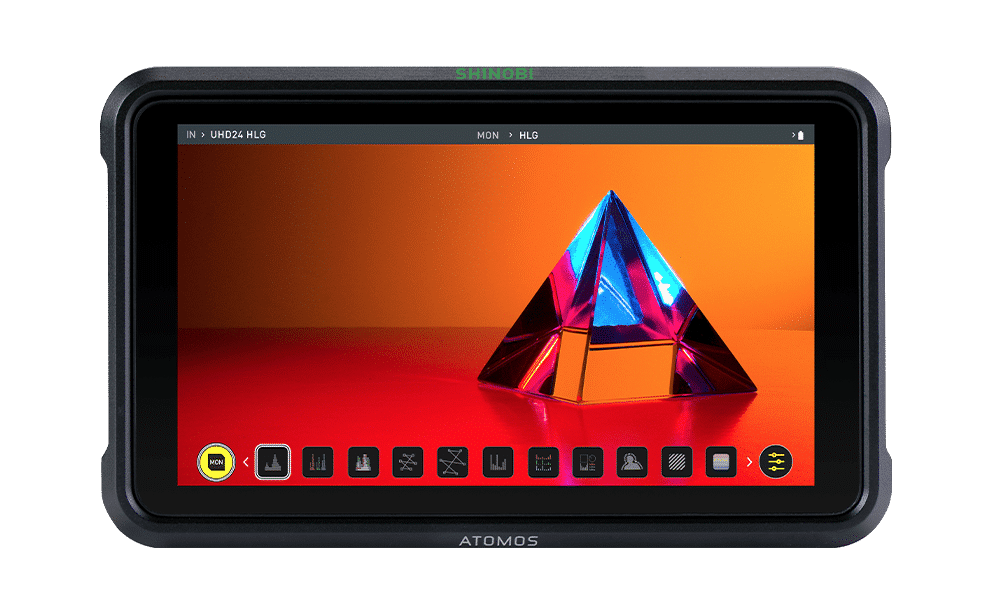
Shinobi II
5-inch, 1500nit HDR Camera Control monitor
Current Firmware
Updating to AtomOS 11.02.00
New Features & Improvements:
- Introduction of Touch to Focus
- Fujifilm and Nikon camera control support
- Introduction of a dedicated shutter release button (Photo mode)
- Implementation of Arri False Color and EL Zone™
For more information, please refer to the Release Notes for AtomOS 11.02.00.
Firmware Update Procedure:
Atomos recommends that your Shinobi II is connected to mains power via a USB-C power adapter (minimum 10W output power) before installing the update. Alternatively, a fully charged NP-F battery will work just as well.
It is critical that your Shinobi II does not lose power during the firmware upgrade process.
- Extract the firmware ZIP file downloaded from atomos.com.
- Format an SD Card in either MS-DOS (FAT) on a Mac, or FAT32 / NTFS if you’re using a Windows PC.
- Copy all .BIN files included in the ZIP archive onto the root directory of the previously formatted SD Card.
- Insert the SD Card with the update files into the Shinobi II’s SD Card slot.
- Power on your Shinobi II with a short press of the power button.
- The Atomos logo will appear, and after a few seconds, the firmware update will begin automatically with the progress indicated below.
- When the firmware update is complete, the Shinobi II will prompt you to restart the device. Before you restart, please wait for a few seconds to give the Shinobi II some extra time to complete the update.
- Power off the Shinobi II by holding down the power button, and boot it up again shortly after.
- When the Shinobi II has restarted, go to the Main menu, and select the Info tab. In there, verify that the version number matches the firmware you wanted to install.
Previous Firmware
AtomOS 11.01.01
AtomOS 11.01.00
Resources

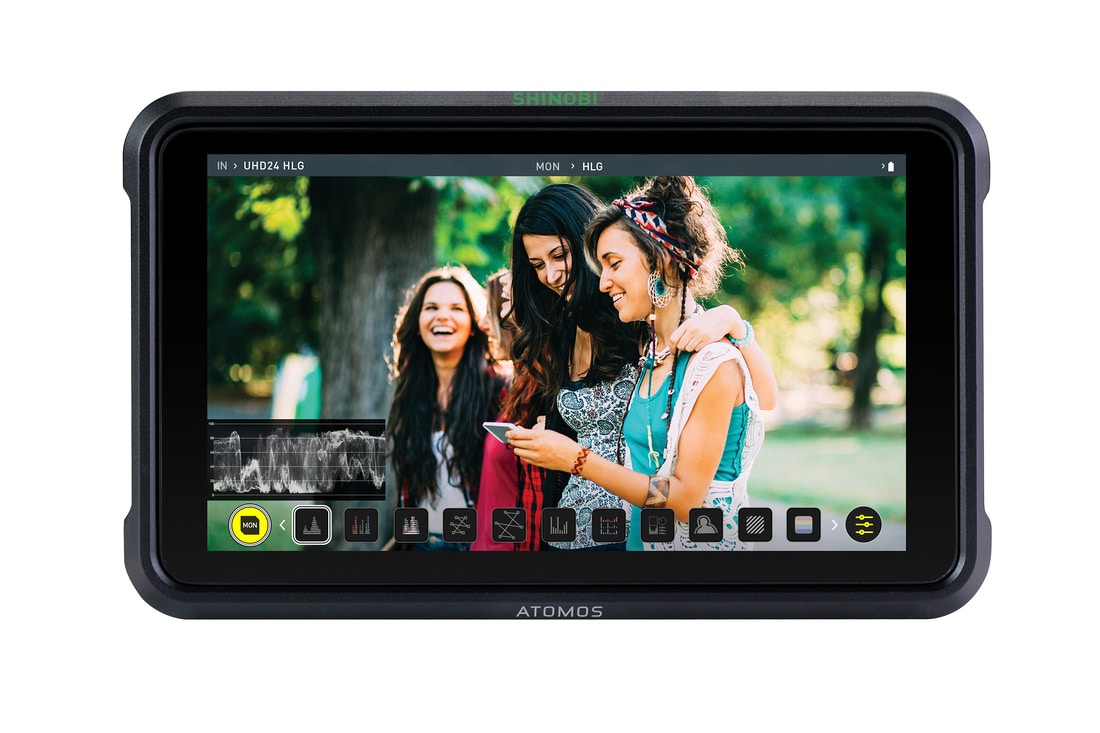
Shinobi
5” HDR Photo & Video Monitor
Firmware
Note: We’re currently experiencing issues with the firmware update procedure on Atomos Shinobi monitors. If you’ve just received a brand new Shinobi, please rest assured that the firmware installed on your device is already up to date. Whilst we’re working on a solution, stay tuned for our next update that will introduce some exciting new features to your device.
Previous Firmware
Shinobi AtomOS 10.1
Shinobi AtomOS 10.02
Resources

Shinobi SDI (Archive)
No longer avaialble
Shinobi SDI Firmware
Resources

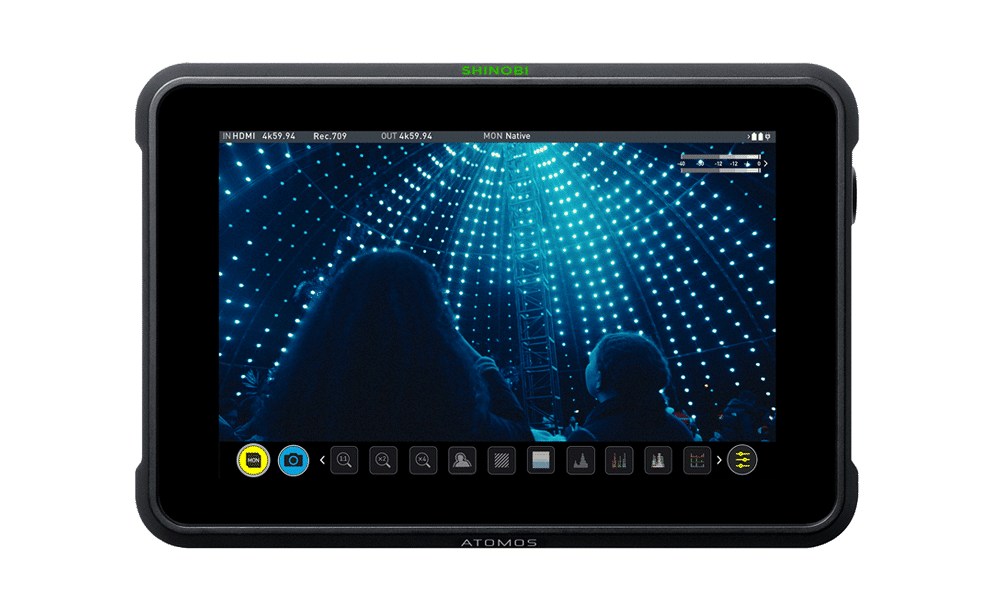
Shinobi 7
7" HDMI/SDI Pro Photo & Video Monitor
Shinobi 7 Firmware
Fixes:
Includes various minor fixes outlined in the release notes.
Firmware Update Procedure:
From time to time we will issue software updates for your Shinobi. To update the firmware (that is the software that runs inside your Shinobi), there is a simple procedure you must follow:
• Check your current Firmware version. Navigate to the Info tab by first pressing the input indicator and then navigating through the menu. The info screen contains the firmware version number and other valuable information about your Shinobi.
• Determine if your device is up-to-date or if a firmware update is required.
• Go to www.atomos.com/support, then locate and download the firmware upgrade
1. Extract the files ATOMSH7F.bin and ATOMSH7V.bin from the firmware zip file.
2. Copy these files onto a SD Card. Atomos recommends you use a freshly formatted compatible SD Card (FAT32 aka. MS-DOS). Ensure that the firmware update file is on the root of the SD card, and not in a folder or sub folder.
3. Use a freshly charged battery on your Shinobi, or connect to mains power via the included DC power supply. It is very important that your Shinobi does not lose power during a firmware upgrade.
4. Power down your Shinobi and insert the SD Card with the ATOMSH7F.bin and ATOMSH7V.bin files.
5. Power up your Shinobi with a short press of the Power Button and watch the screen. The Atomos logo will appear, and then be replaced with a Please Wait message. After a few seconds the firmware upgrade will start.
6. While the firmware upgrade is happening, an ‘updating firmware’ screen will appear. The firmware upgrade will take a few minutes.
7. When the firmware upgrade is finished, the Shinobi will prompt you to restart the device.
8. Turn on your Shinobi again with a short press of the Power Button.
9. When the Shinobi has booted, return to Settings, and then select the Info tab and check that the version number is the version expected.